hexo搭建个人博客推送至github
1.安装git与Nodejs
在Windows上安装Git,可以从Git官网直接https://git-scm.com/downloads,然后按默认选项安
装即可。安装完成后,在开始菜单里找到“Git”->“Git Bash”,蹦出一个类似命令行窗口的东西,就
说明Git安装成功。
在Git中绑定Github账号,打开“Git Bash”,在命令框中依次输入两行命令:
1 | git config --global user.name "Your Name" |
- 安装NodeJS
网址 https://nodejs.org/en/download/ 并配置环境变量。 - 安装之后可以输入以下命令查看是否安装成功。
1 | git version |

2.安装hexo
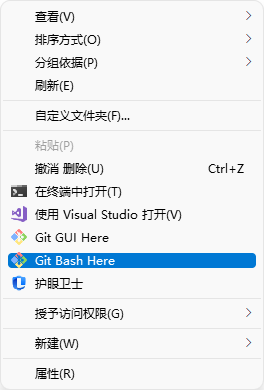
- 新建文件夹,在该文件夹下打开”git bach here“。
- 在命令行执行下列命令。
1 | npm install -g hexo-cli |
1 | hexo init myBlog |
- 执行完成后,运行 hexo server 命令,在浏览器中输入 http://localhost:4000 就能够预览效果了。
1 | hexo server |

3.修改主题
- 我用的是NEXT主题:https://github.com/next-theme/hexo-theme-next,下载完成后解压在myBlog\themes路径下。然后打开_config.yml文件修改如下。

这里为了简便我将解压后的文件重命名为next,保存之后刷新 http://localhost:4000 页面,主题就已经更改完成。
4.修改next主题配置
- 详细配置请见
5.将博客部署在github上
- 在github上建立一个新仓库,在这里注意仓库名一定要是: 用户名.github.io,如我的用户名是jiao-ye,那么我的新仓库名就为jiao-ye.github.io
- 配置 SSH key ,要使用 git 工具首先要配置一下SSH key,将本地仓库能连接远程仓库,输入下列命令。
1 |
|
按照提示完成后便可以生成ssh key。
查看ssh key
1 | cat ~/.ssh/id_rsa.pub |

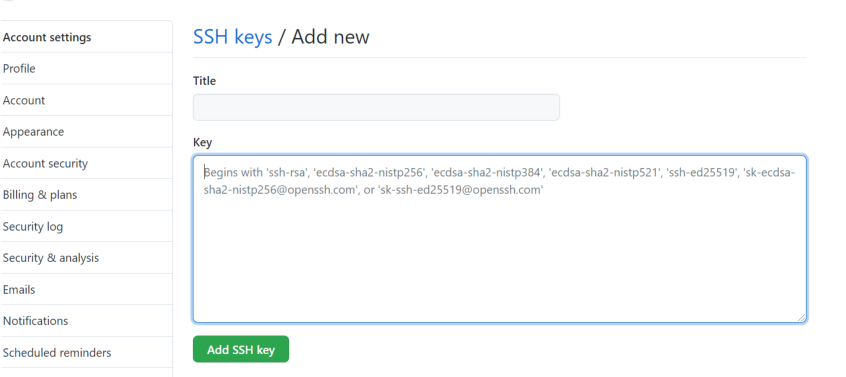
复制输出的ssh key,在github上建立新的ssh key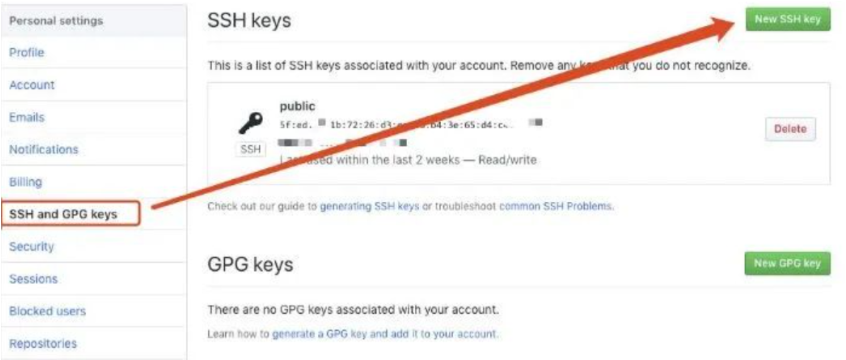
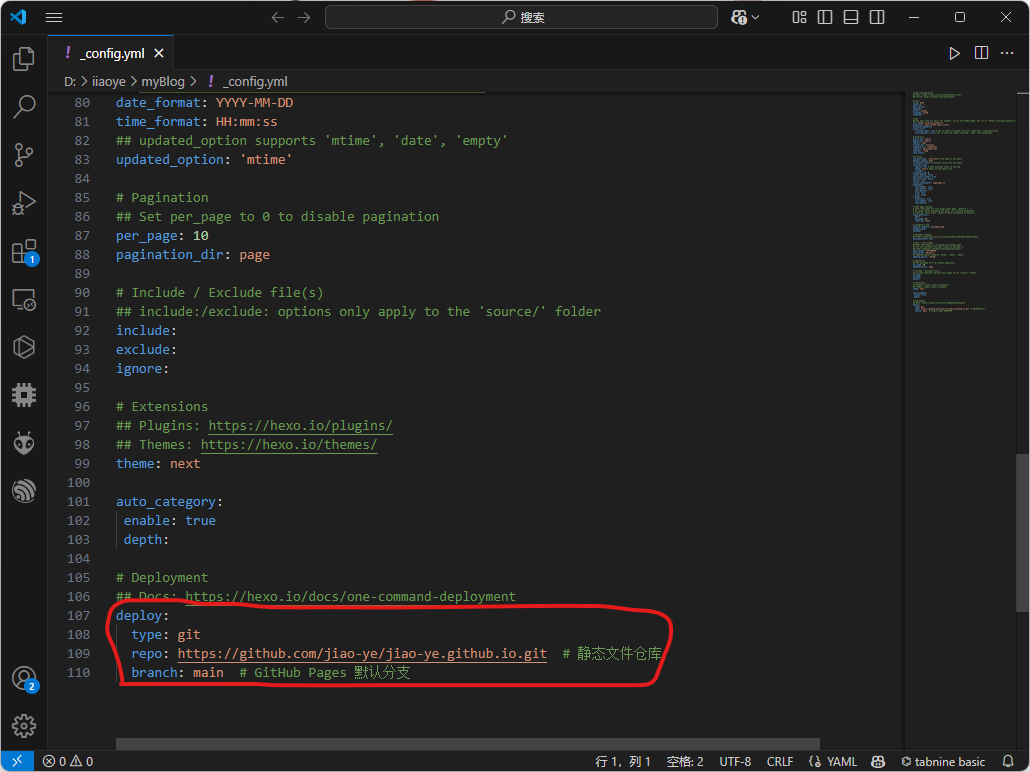
- 将本地仓库与远程仓库连接起来,打开_config.yml文件进行如下修改

- 安装部署插件
1 | npm install hexo-deployer-git --save |
- 执行如下两条指令生成与部署
1 | hexo g # 生成 |
- 用浏览器输入 用户名.github.io 就可以访问自己的个人博客了
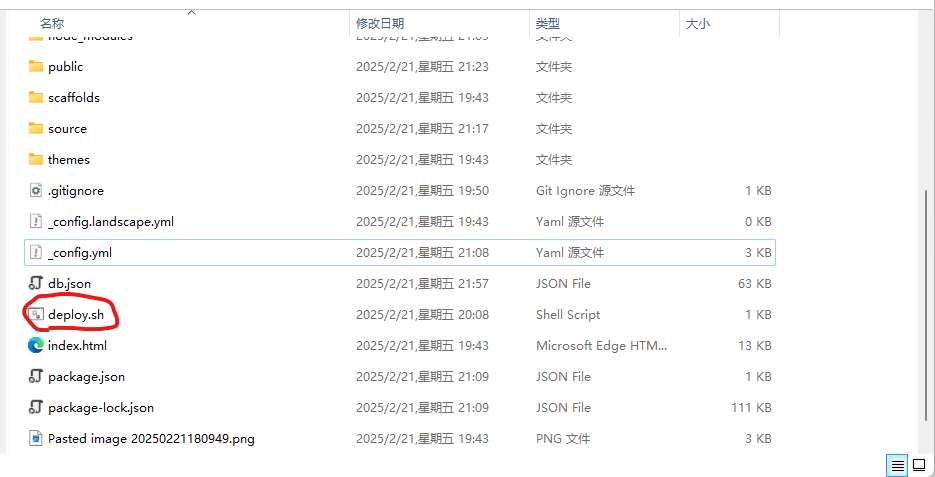
6.编写shell脚本方便部署
- 在myBlog下新建deploy.sh脚本,粘贴下列代码
1 | # 生成静态文件 |
- 给与权限
1 | chmod u+x deploy.sh |
- 双击deploy.sh即可一键部署